Sprinkle Celebration Cake


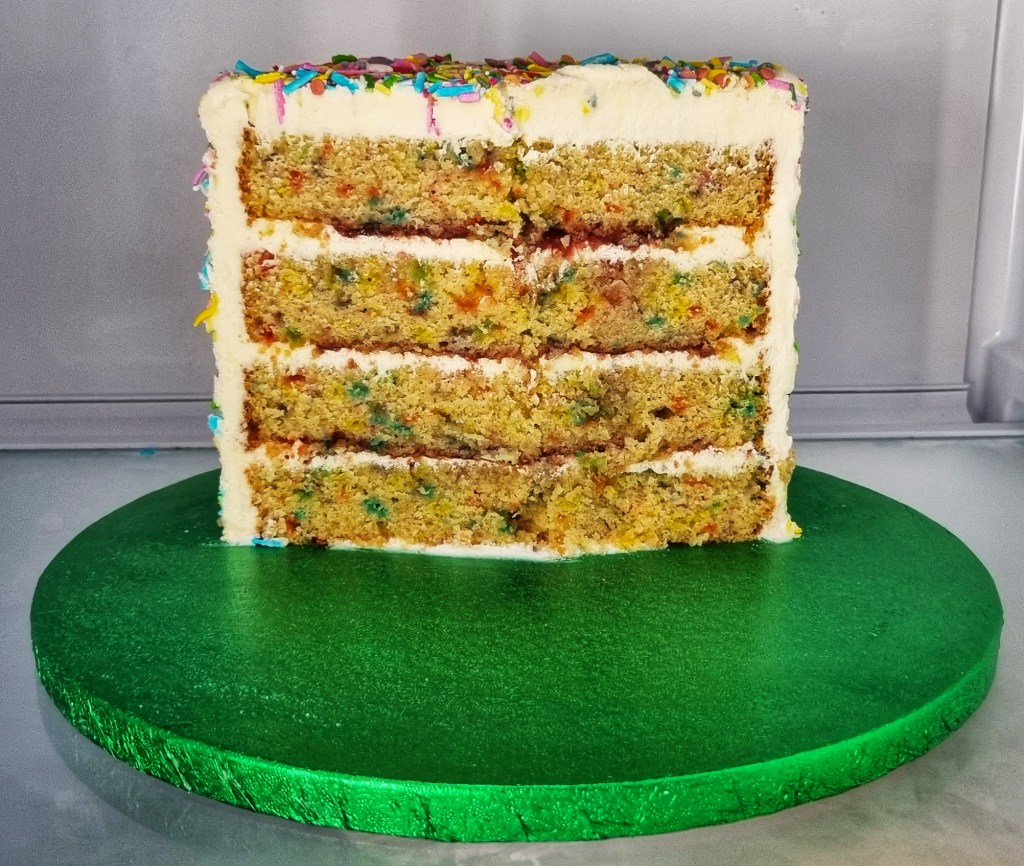
This fun celebration cake is adapted from my Victoria sponge recipe with the addition of festive sprinkles throughout the cake.

As with any Victoria sponge recipe, the proportions of ingredients are based on the weight of the eggs (without their shells), so you can use whichever size eggs you prefer.

Makes one 4-layer 6” (15cm) cake. All ingredients, except the double cream, should be room temperature

Ingredients

Cake – single layer so you need 4x for the full cake

  • 2 eggs
  • 2 eggs weight of golden caster sugar
  • 2 eggs weight of margarine, plus extra for greasing
  • 2 eggs weight of self raising flour
  • 20g bake stable sprinkles (I use these sprinkles)
  • 1 tsp vanilla extract
  • 1 tbsp Elmlea plant based double cream

Buttercream (x2 – one portion for filling and crumb coat, then same again for the final decoration)

  • 80g margarine
  • 80g solid cooking oil (I use Trex, but other solid oil can be used)
  • 330g icing sugar
  • 2 tsp vanilla extract
  • 1 tsp lemon juice

Assembly/Decorating Stuffs

  • Sprinkles
  • Strawberry jam

Cake Process

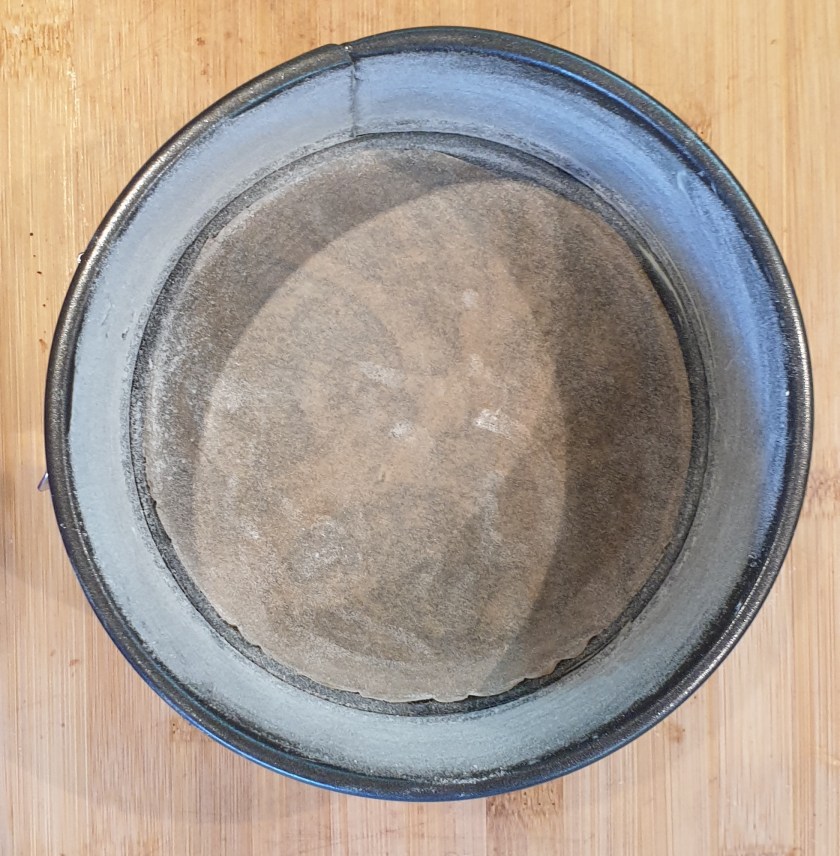
  1. Preheat the oven at 170C fan assisted and prepare a 6″ (15cm) sandwich tin with margarine, baking paper on the bottom, and dust with flour
  2. Beat the sugar and margarine together at a medium speed until light and fluffy
  3. Using a spatula, scrape down any mixture from the sides of the bowl. Beat in the eggs individually at medium speed. Add the vanilla extract
  4. Scrape down any mixture from the sides again. Sieve the flour into the mixture, add the bake stable sprinkles, and fold in
    • If the batter is feeling a bit thick add the double cream
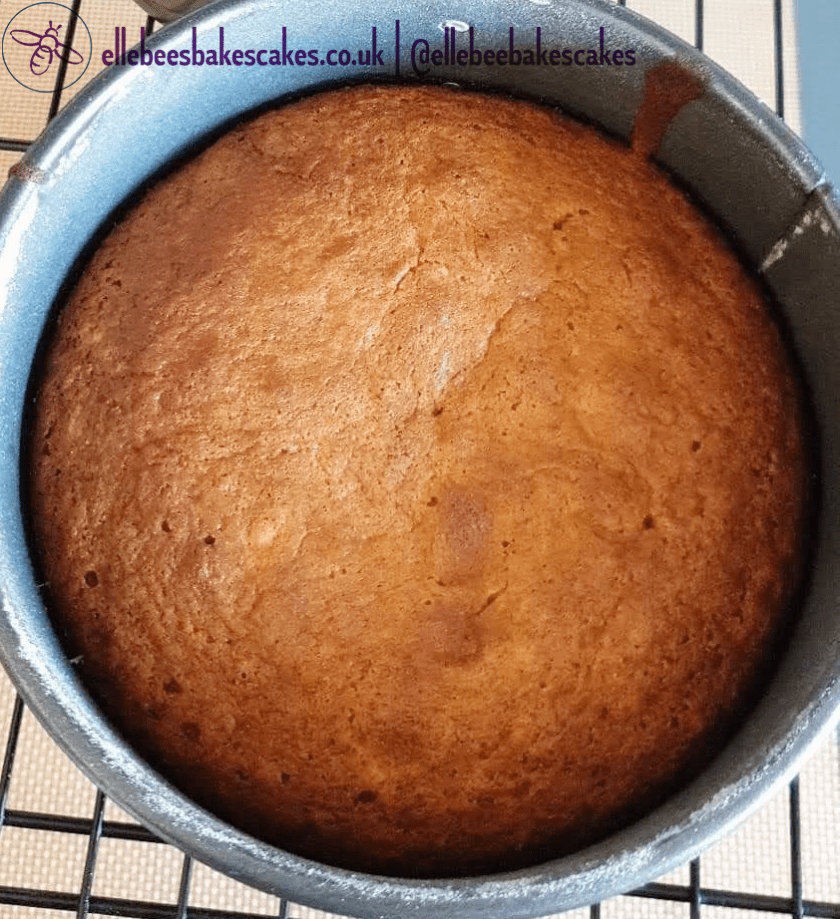
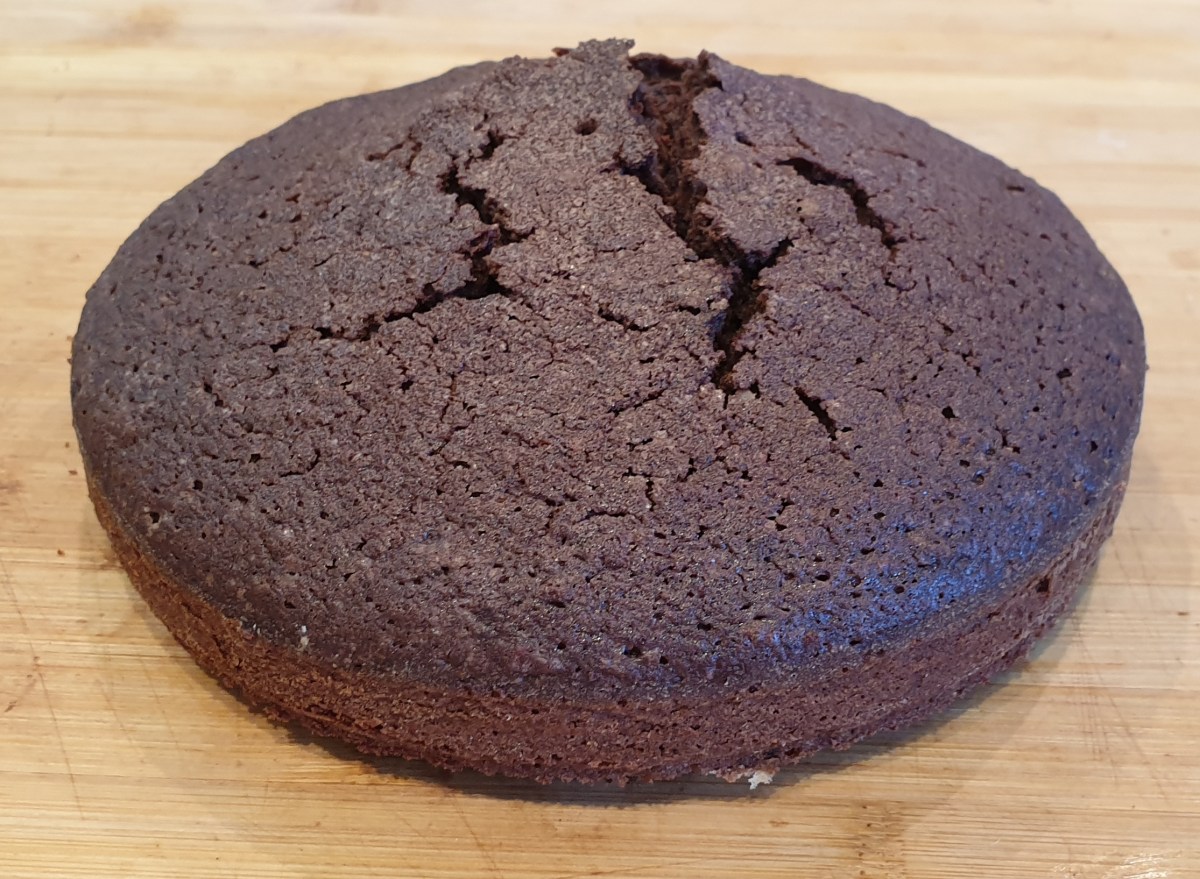
  5. Pour into the prepared tin and put in the oven for 30-35 minutes, or until a skewer comes out clean and the top of the cake is springy. Put on a cooling rack in the tin for 30 minutes, then take out of the tin and continue to cool on the rack
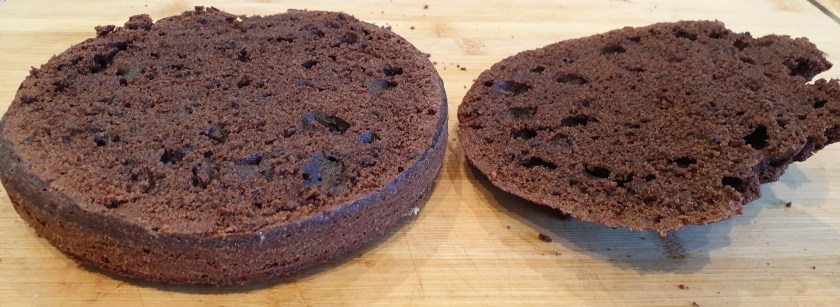
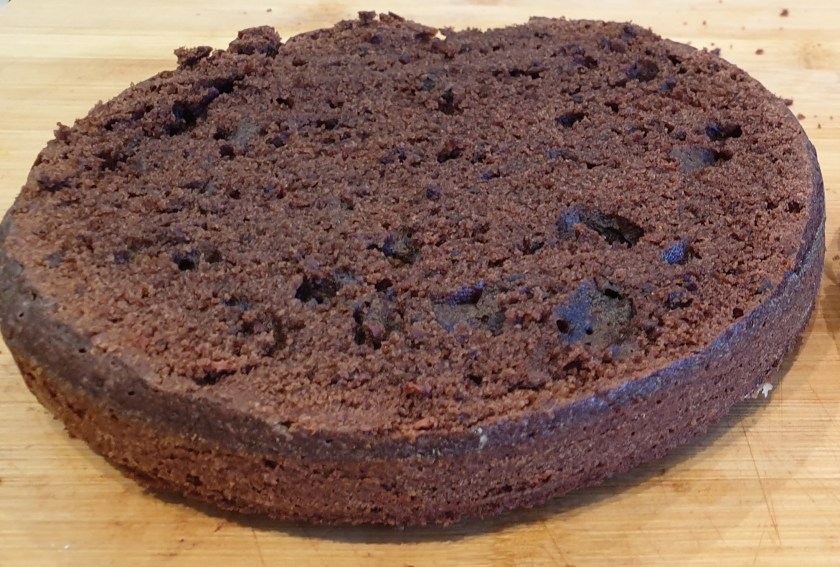
  6. Repeat steps 2-5 until all four cakes are baked and cooled. Once cooled, level each cake

Now to make the buttercream for the crumb coat! Just follow the process for my Vanilla Buttercream Icing.

And now we decorate.

  1. Grab your cake drum/board and put a small dollop in the centre. Place your first cake layer centre on the board
  2. Cover the top of the layer with a thick layer of buttercream and smooth it out with an offset spatula. Make a small well in the middle and scoop in 1-2 tsp of the jam. Place the next cake layer on top and repeat until the last cake layer is on
    • I found that I had to put some bamboo dowels in to keep the cake from slipping with all the weight of the four layers
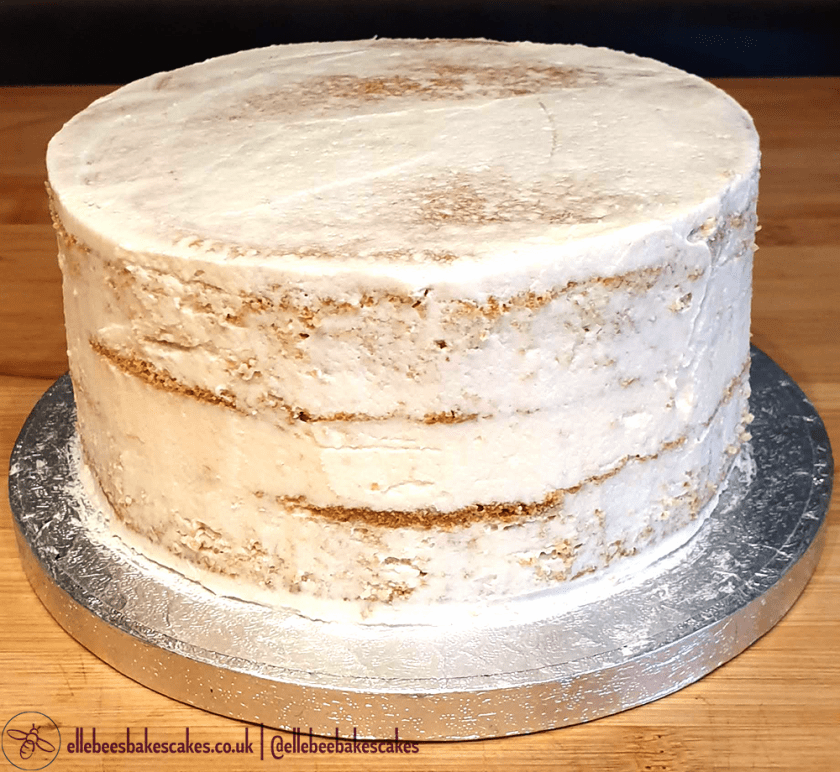
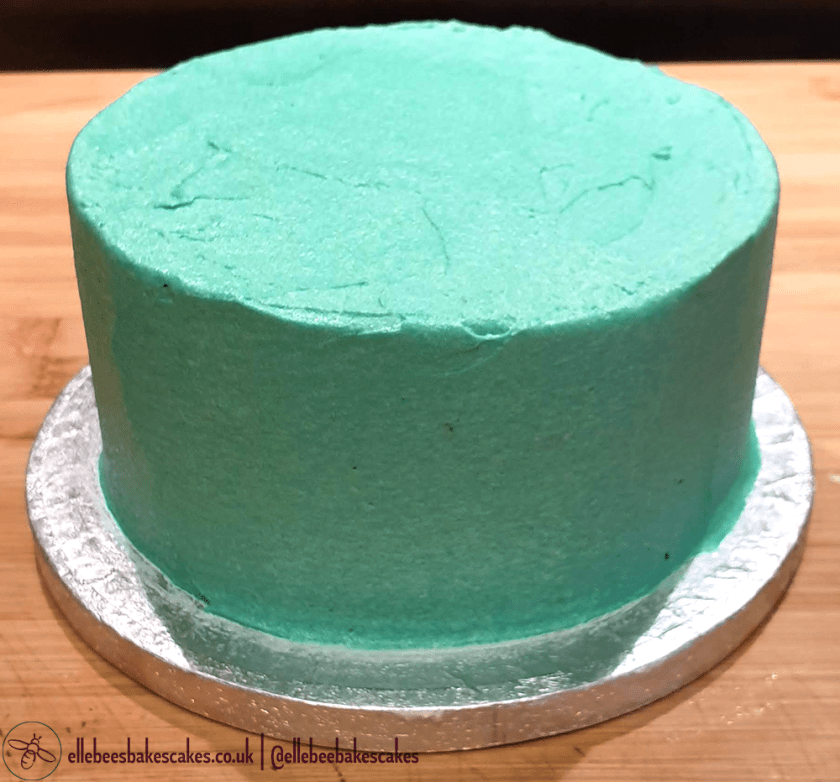
  3. Cover the top and sides with buttercream and smooth with a side scraper
  4. Pop in the fridge for at least 2 hours, better if overnight, until the buttercream has hardened
  5. Make some more buttercream using the same amount of ingredients and with the same process
  6. Cover the top and sides again with this extra buttercream and make sure it’s nice and thick. Smooth with a side scraper
  7. Pop in the fridge again until this layer of buttercream has hardened
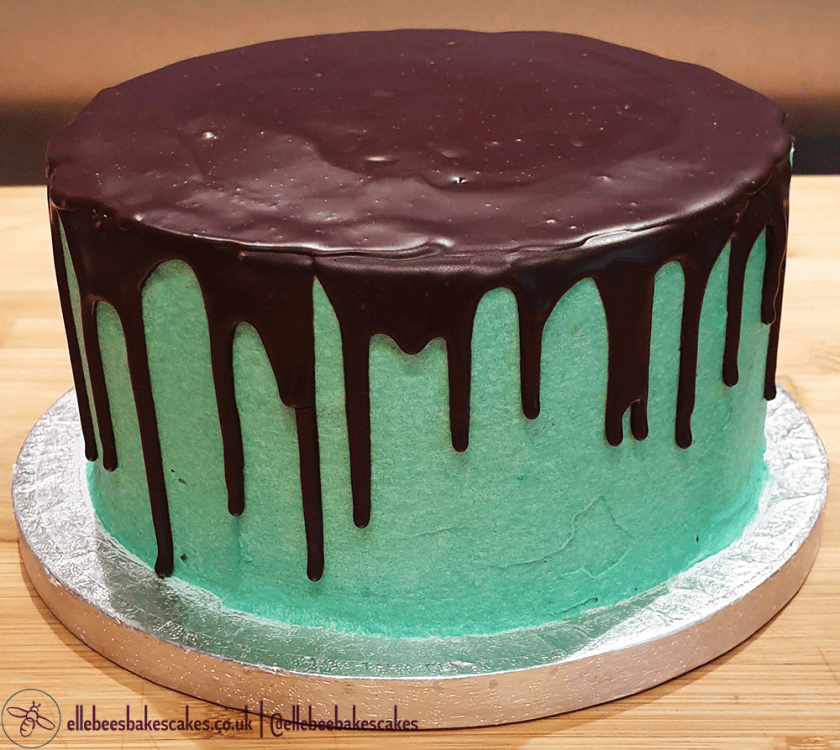
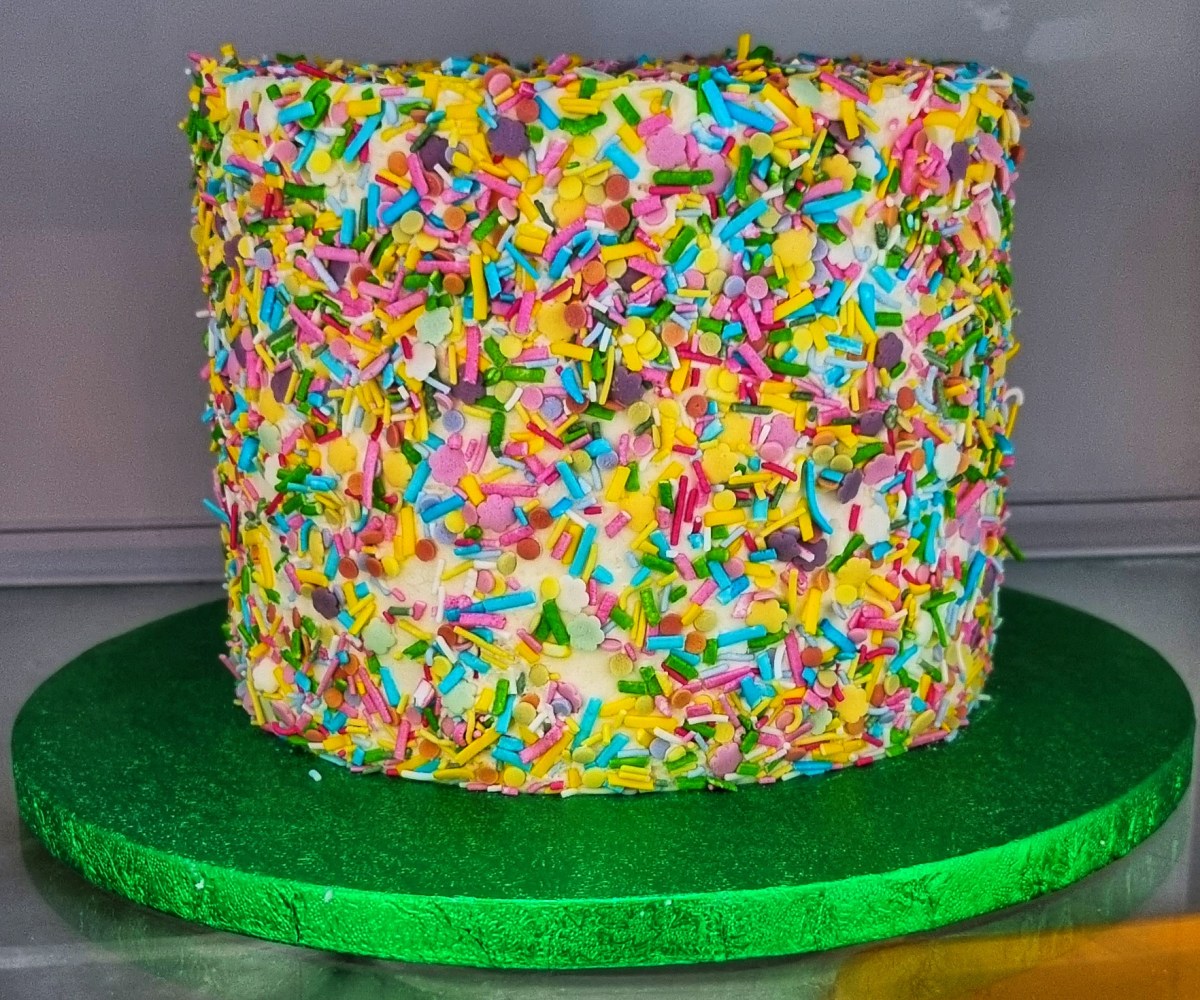
  8. Push your sprinkles of choice into the buttercream. I found it easier to wear a vinyl food safe glove while doing this

Ta da! Enjoy!

Bee Hive Cake

I decorated this 3 layer lemon and honey cake (recipe here) with lemon Swiss meringue buttercream (recipe here) and fondant bees.

I started by covering the cake drum in green fondant. I lightly wet the drum using a pastry brush dipped in water, then draped the green fondant (which had been rolled out to around 2mm) over the top. I smoothed the fondant with a smoothing tool. Using a sharp knife, I trimmed the edges of the fondant so that it was in line with the edge of the cake drum. I then stuck the green ribbon around the edge using double sided tape. For a bit of extra fun, I stuck little bees around the edge.

Next I made the bees. I rolled small amounts of yellow fondant into cylinders. Then I rolled out black fondant to about 1mm thick and cut out strips. I used a small amount of water to stick the strips to the yellow fondant; a fine paintbrush is the easiest way to apply the water. I used a cocktail stick dipped in black food colouring to make the eyes, and an icing tool shaped as a D dipped in black food colouring to make the smile. I pushed in almond flakes for the wings, then pushed cocktail sticks in so it looks like the bees are flying.

Finally, I made the little hive door with black fondant by cutting an arch out of paper then using that as a stencil.

I completed the fondant parts in advance so that the fondant dried and hardened in time.

I made the lemon and honey cake recipe twice. The second batch I made as a 2 egg version and poured it into a 6″ (15cm) heatproof bowl which I had greased with margarine. I popped this in the oven for 20 minutes at 155C, then dropped it down to 140C and checked every 5 minutes until the top sprung back when touched.

I made a full batch of Swiss meringue buttercream, adding 3 tsp of lemon extract to get the lemon flavour I wanted.

Then I started assembling the cake. I cut the tops off the round layers to make them flat. I used a 6″ (15cm) cake board and put a blob of buttercream in the centre to keep the cake in place. Then I put the first layer on and covered the top in buttercream. I repeated this with all three layers, then gave the cake a crumb coat.

I popped this in the fridge for a few hours so that the buttercream firmed up. While the cake was firming up, I added yellow colouring to the remaining buttercream to give it a golden colour.

Once the cake had finished firming up in the fridge, I started getting things ready for decorating. I put a large round piping tip into a piping bag and transferred the golden lemon buttercream into it. Starting from the bottom, I piped rings around the cake. I used a smaller piping tip to fill in any holes I saw. Once finished, I popped the cake back in the fridge.

Once the buttercream had firmed up, I moved the cake carefully onto the covered cake drum. I then placed the little door and put the bees in position.

Enjoy!

Lemon and Honey Cake

Using honey instead of sugar makes this cake quite rich and moist, and the classic pairing of honey and lemon will have your tastebuds buzzing.

This recipe makes two 6″ (15cm) cake layers.

Ingredients

  • 150g honey
  • 175g margarine, plus extra for greasing
  • 3 large eggs
  • 175g self raising flour
  • 1/2 tsp bicarbonate of soda
  • Zest of 1 lemon
  • 1 tsp lemon juice
  • 1 tsp plant based milk

Process

  1. Preheat the oven to 155°C fan assisted and put a shelf in the middle. Grease and line the bottom of two 6″ (15cm) cake tins to ensure your cake doesn’t stick
    • Lightly grease the inside with margarine. Cut a circle of non-stick baking parchment the size of the tin and use it to line the bottom – the margarine on the bottom of the tin will keep the parchment in place. Dust the side with some flour, making sure to knock off the excess
  2. Put the honey and margarine in a bowl together and beat them until light and creamy (at a medium speed if using a stand mixer)
  3. Add the eggs one at a time, making sure they are fully incorporated before adding the next one
  4. Add the lemon zest and juice, and mix until combined
  5. Sift in the flour and bicarbonate of soda, and fold until combined. If the mixture feels stiff, add the plant based milk to slacken it slightly
    • This is still a very thick mixture that shouldn’t be runny, but you should also be able to stir it without difficulty
  6. Pour the mixture evenly between the two prepared cake tins and level off with an offset spatula or butter knife
    • I tend to weigh the tins to make sure the quantities are even
  7. Bake for 25 minutes, at which point the tops should spring back to the touch. You can’t trust a skewer with this cake, and this recipe gets dark really quickly because of the honey
  8. Allow the cakes to cool for 15-20 minutes in the tin before removing onto a wire rack. Allow the cakes to cool completely on the wire rack before storing or decorating

I coated this cake with just a crumb coat of lemon buttercream (recipe here, I swapped out the vanilla extract for lemon extract), but you can decorate it how you wish.

Enjoy!

As you can see, the cake gets really dark once baked

Amazon Associate Links

Most of the baking equipment I used can be found on Amazon, find them here

Coffee and Walnut Cupcakes

Coffee and walnut is my dad’s absolute favourite cake, and even my walnut-hating sister loves this recipe. These cupcakes deliver a punch of flavour for their size.

This recipe makes 9 cupcakes.

Ingredients

Cake

  • 125g room temperature margarine
  • 50ml strong coffee
  • 140g self-raising flour
  • 125g golden caster sugar
  • 2 eggs
  • 1 tsp vanilla
  • 45g walnuts, chopped into chunks

Cream Cheese Icing

  • 55g icing sugar, sieved
  • 75ml plant-based double cream
  • 55g dairy-free cream cheese, room temperature
  • 1 tbsp coffee

Process

  1. Preheat oven at 160C fan assisted.  Put cupcake cases into a cupcake tin
  2. Put all cake ingredients except the walnuts into a bowl and mix until just combined
  3. Fold in the walnuts
  4. Fill cupcake cases up to 2/3 with mixture
    • I use a 1/4 cup measuring cup when filling the cupcake cases to make sure each case has the same amount in it
  5. Bake for 20 mins, or until a skewer comes out clean
  6. Leave to cool in the tin for 15 minutes, then onto a cooling rack until completely cool

Cream Cheese Icing

  1. Whip the dairy-free cream cheese until really smooth
  2. Add the icing sugar, plant-based double cream and coffee. Whip until thick and a spoon leaves a trail in the mixture when passed through
  3. Decorate the cupcakes using either an offset spatula or by filling a piping bag
  4. Leave them with just the cream cheese icing, or top off with a walnut half or other decoration

Enjoy!

P.S. Want to bake a cake instead of cupcakes? This recipe will make a single 8″ (20cm) coffee and walnut cake! There’s even no need to change the time in the oven.

Amazon Associate Links

Most of the baking equipment I used can be found on Amazon, find them here

Carrot Cupcakes

These cupcakes have all of the flavour of a carrot cake, but in a delectable bite-sized package. Try not to eat them all at once!

Makes 9 cupcakes.

Ingredients

Cake

  • 125ml sunflower oil
  • 2 large eggs
  • 110g light muscovado sugar
  • 125g carrots, peeled and coarsely grated
  • 150g self-raising flour
  • 1tsp baking powder
  • 1tsp ground mixed spice
  • 1tsp ground ginger
  • 1tsp ground nutmeg
  • 35g walnuts, shelled and chopped

Cream Cheese Icing

  • 50g icing sugar, sieved
  • 75ml plant-based double cream
  • 50g dairy-free cream cheese, room temperature

Process

  1. Preheat oven to 160C fan assisted.  Put cupcake cases into a cupcake tin
  2. Put all cake ingredients into a bowl and mix until just combined
  3. Fill cupcake cases up to 2/3 with mixture
    • I use a 1/4 cup measuring cup when filling the cupcake cases to make sure each case has the same amount in it
  4. Pop in the oven for 20 minutes, or until a skewer comes out clean and the tops are bouncy
  5. Allow to cool in the tin for 15 minutes, then onto a cooling rack to cool completely

Cream Cheese Icing

  1. Whip the dairy-free cream cheese until really smooth
  2. Add the icing sugar and plant-based double cream. Whip until thick and a spoon leaves a trail in the mixture when passed through
  3. Decorate the cupcakes using either an offset spatula or by filling a piping bag
  4. Leave them with just the cream cheese icing, or top off with a walnut half or other decoration (I used a sugar carrot decoration that I found at the supermarket)

Enjoy!

P.S. Want to bake a cake instead of cupcakes? This recipe will make a single 8″ (20cm) carrot cake! Just leave in the oven for 35 minutes instead.

Amazon Associate Links

Most of the baking equipment I used can be found on Amazon, find them here

Teal ‘Buttercream’ and Chocolate Ganache Drips

I decorated this 2 layer 6″ (15cm) Victoria sponge (recipe here, I used a 3 eggs weight instead of 2 and split it between two 6″ cake tins) with my vanilla ‘buttercream’ (recipe here), first with a crumb coat, then the coloured ‘buttercream’, then topped it with chocolate ganache dripping down the sides (recipe here).

I applied a spot of buttercream to the centre of the cake board so that the bottom layer of cake wouldn’t move around. I then applied a generous layer of buttercream to the top of that layer using an offset spatula, making sure to keep the top of the buttercream level. I put the second layer on top, top side down.

I applied a thin layer of buttercream to the whole cake using an offset spatula and levelled it with a cake scraper. I put the cake in the fridge overnight to ensure the buttercream set firm.

After the crumb coat, about two thirds of the buttercream remained. I coloured the buttercream by folding in green and blue food colouring gel paste to achieve this teal colour – due to the super-concentrated nature of colouring gel paste, the gel from the point of a kebab stick dipped into the colouring paste was all that was needed.

To apply the coloured buttercream, I used the same technique as the crumb coat but applied it more thickly. I smoothed the buttercream with the cake scraper then put it back in the fridge overnight.

For the drips, I prepared a piping bag with a #2 tip and poured in the slightly-cooled ganache. With the cake on a turntable, I turned the cake and allowed the ganache to fall on the edge to drip over the side. Once the entire circumference was covered, I filled in the centre. Depending on how liquid your ganache is at this point, you may need to encourage it to smooth with a palette knife.

I popped the cake back in the fridge overnight for the ganache to set.

Enjoy!

P.S. Don’t have 3 days to decorate this cake? 2 hours in the fridge instead of overnight should be enough to firm up the buttercream and ganache layers, but you can’t skip the chilling completely.

Amazon Associate Links

Most of the baking equipment I used can be found on Amazon, find them here

Victoria Sponge

I love a good Victoria sponge, they always make me think of warm weather and sunshine. The addition of fresh summer fruits can elevate a regular Victoria sponge to something more delectable and decadent.

Victoria sponge recipes are based on the weight of the eggs, so egg size doesn’t matter and you can use whatever you have to hand. Weigh these without shells first so that the weight of the other ingredients is correct.

This recipe will make a single 8″ (20cm) sponge layer. You will need to bake two to make the fully assembled cake. All ingredients, except the double cream and fresh fruit, should be room temperature.

Ingredients

Cake – single layer

  • 2 eggs
  • 2 eggs weight of margarine, plus extra for greasing
  • 2 eggs weight of caster sugar
  • 2 eggs weight of self raising flour
  • 1 tsp vanilla extract – NOT vanilla essence
  • 1 tsp orange extract
  • 1 tsp orange liqueur, like Cointreau (optional, for adults)
  • 1 tbsp plant based double cream (I use Elmlea plant based double cream, available at most UK supermarkets)

Cream Filling

  • 150ml plant based double cream
  • 1 tbsp orange liqueur, like Cointreau (optional, for adults)
  • 1 tsp orange extract

Assembly

  • Good quality berry jam
  • 250g fresh summer berries (strawberries, raspberries, etc)
  • 2 tbsp icing sugar, to dust

Process

Cake

  1. Prepare an 8″ (20cm) cake tin (I prefer to use a springform tin) to ensure your cake doesn’t stick
    • Lightly grease the inside with margarine. Cut a circle of non-stick baking parchment the size of the tin and use it to line the bottom – the margarine on the bottom of the tin will keep the parchment in place. Dust the sides with some flour, making sure to knock off the excess
  2. Set oven to 170C fan assisted and put a shelf in the bottom middle
  3. Put margarine and caster sugar into a bowl and beat them until light and creamy (at a medium speed if using an electric mixer)
  4. Add eggs slowly, making sure to keep the speed the same. Add a tablespoon of the flour once the eggs are added to stop the mixture from curdling
  5. Add vanilla and orange extract, and orange liqueur if using, and mix until combined
  6. Sift in flour and fold mixture together until combined. If the mixture feels stiff, add the cream and continue to fold until combined
  7. Pour mixture into prepared tin and level off with offset spatula or butter knife
  8. Bake for 20 minutes, or until a skewer comes out clean
  9. Allow cake to cool for 15-20 minutes in the tin before removing onto wire rack. For a Victoria sponge, I like to cool the cakes upside-down on the wire rack so that the sponges are flat. Be careful when doing this as the tin will still be slightly warm. Allow the sponge to cool completely on the wire rack
  10. Repeat process for second layer

Cream Filling

  1. Whip the cream with the orange extract, and orange liqueur if using, at a high speed until thick

Assembly

  1. Place bottom sponge on cake board or stand. Cover with a thick layer of jam
  2. Spread summer berries around on the jam. I cut strawberries in half so that they aren’t so bulky
  3. Cover the berries with the whipped cream using an offset spatula, spoon, or by piping it on
  4. Top with other sponge
  5. Dust with icing sugar

Enjoy!

Amazon Associate Links

Most of the baking equipment I used can be found on Amazon, find them here

Chocolate Sponge Cake

This recipe will make a single 6″ (15cm) sponge cake. All ingredients, except the double cream, should be room temperature.

Ingredients

  • Margarine for greasing the cake tin
  • 100g self-raising flour
  • 105g caster sugar
  • 20g 100% cocoa powder – NOT hot chocolate powder!
  • 30g cocoa nibs
    • Make sure these are small; you may have to put them in a food processor to bring the size down (but don’t powder them)
  • 35g cooled espresso
    • I make this in a Moka pot and let it sit until room temperature, otherwise make a cup of black coffee and pour in about 60ml when cool
  • 65g plant-based Elmlea double cream (or another dairy alternative to double cream)
  • 60g sunflower oil
  • 1 large egg

Process

  1. Prepare a 6″ (15cm) cake tin (I prefer to use a springform tin) to ensure your cake doesn’t stick
    • Lightly grease the inside with margarine. Cut a circle of non-stick baking parchment the size of the base of the tin and use it to line the bottom – the margarine on the bottom of the tin will keep the parchment in place. Dust the sides with some flour, making sure to knock off the excess
  2. Set oven to 160C fan assisted and put a shelf in the middle
  3. Sieve all dry ingredients into a bowl and whisk them to combine
  4. In a separate bowl whisk wet ingredients
  5. Add mixed dry ingredients to wet and mix until combined
  6. Pour into tin and cook for 40-45 minutes, until a skewer comes out clean
  7. Allow cake to cool for 30+ minutes in the tin before removing from tin

If you’re not using the cake on the day it is made, wrap it in clingfilm once it is out of the tin and put in the fridge. Double wrap in clingfilm if it is going in the freezer to make sure it doesn’t get freezer burn. Allow the cake to return to room temperature completely before decorating.

I always cut the top off the cake using a cake leveller before wrapping in clingfilm so that it is ready to decorate immediately.

Enjoy!

Amazon Associate Links

Most of the baking equipment I used can be found on Amazon, find them here