I decorated this 3 layer lemon and honey cake (recipe here) with lemon Swiss meringue buttercream (recipe here) and fondant bees.
I started by covering the cake drum in green fondant. I lightly wet the drum using a pastry brush dipped in water, then draped the green fondant (which had been rolled out to around 2mm) over the top. I smoothed the fondant with a smoothing tool. Using a sharp knife, I trimmed the edges of the fondant so that it was in line with the edge of the cake drum. I then stuck the green ribbon around the edge using double sided tape. For a bit of extra fun, I stuck little bees around the edge.

Next I made the bees. I rolled small amounts of yellow fondant into cylinders. Then I rolled out black fondant to about 1mm thick and cut out strips. I used a small amount of water to stick the strips to the yellow fondant; a fine paintbrush is the easiest way to apply the water. I used a cocktail stick dipped in black food colouring to make the eyes, and an icing tool shaped as a D dipped in black food colouring to make the smile. I pushed in almond flakes for the wings, then pushed cocktail sticks in so it looks like the bees are flying.

Finally, I made the little hive door with black fondant by cutting an arch out of paper then using that as a stencil.
I completed the fondant parts in advance so that the fondant dried and hardened in time.
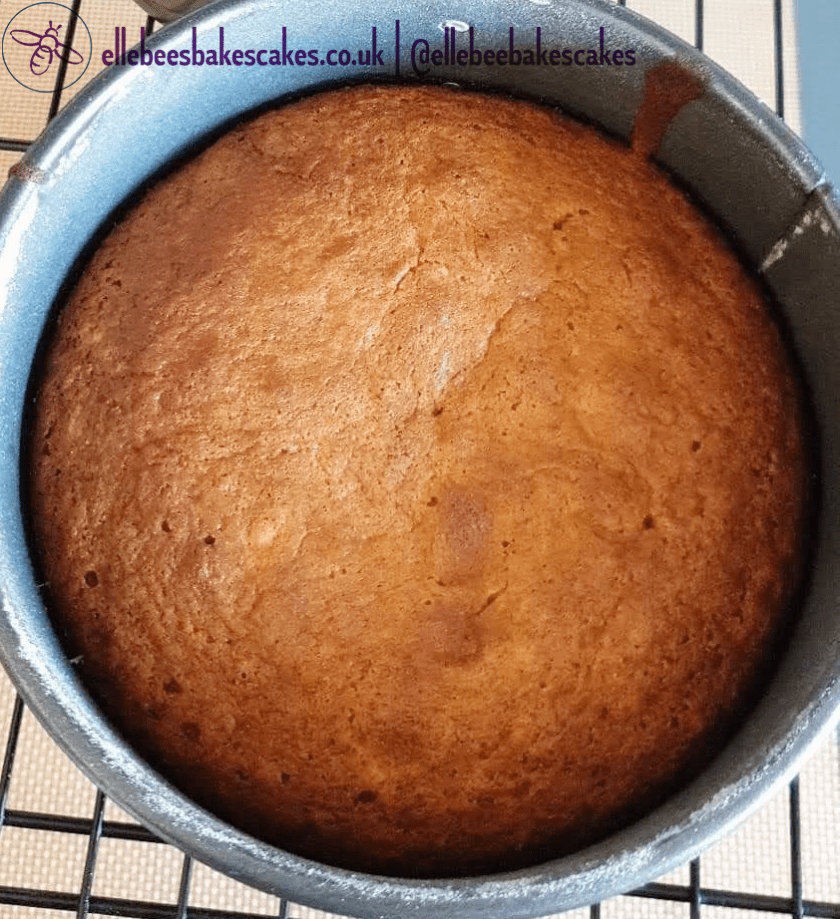
I made the lemon and honey cake recipe twice. The second batch I made as a 2 egg version and poured it into a 6″ (15cm) heatproof bowl which I had greased with margarine. I popped this in the oven for 20 minutes at 155C, then dropped it down to 140C and checked every 5 minutes until the top sprung back when touched.
I made a full batch of Swiss meringue buttercream, adding 3 tsp of lemon extract to get the lemon flavour I wanted.
Then I started assembling the cake. I cut the tops off the round layers to make them flat. I used a 6″ (15cm) cake board and put a blob of buttercream in the centre to keep the cake in place. Then I put the first layer on and covered the top in buttercream. I repeated this with all three layers, then gave the cake a crumb coat.

I popped this in the fridge for a few hours so that the buttercream firmed up. While the cake was firming up, I added yellow colouring to the remaining buttercream to give it a golden colour.
Once the cake had finished firming up in the fridge, I started getting things ready for decorating. I put a large round piping tip into a piping bag and transferred the golden lemon buttercream into it. Starting from the bottom, I piped rings around the cake. I used a smaller piping tip to fill in any holes I saw. Once finished, I popped the cake back in the fridge.
Once the buttercream had firmed up, I moved the cake carefully onto the covered cake drum. I then placed the little door and put the bees in position.


Enjoy!